July's Question: I want to make digital glitter in whatever color or shape I desire, please help!
Metallic Glitter in ArtRage by Spencer Aloysius
This tutorial will show you how to make a the popular metallic glitter in Art Rage 2.5 which can then be used as a fill in Paint Shop Pro or a style in Photoshop.
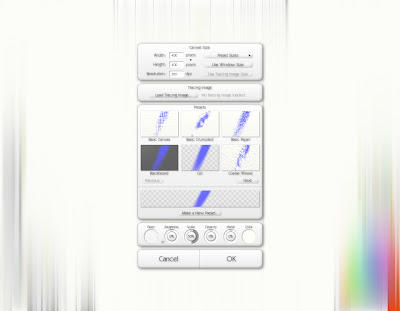
1. Open up a new painting in Art Rage. The example uses a 400 x 400 canvas at 300 dpi. Select Cell as your preset so that you can have a transparent background.
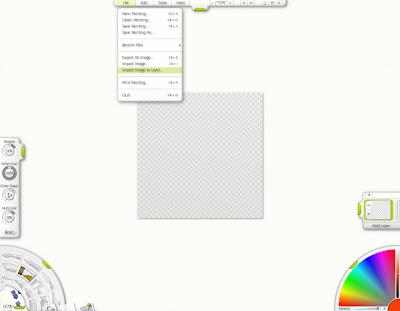
2. If you want to use a palette for color selection, import the palette as a layer. This will place the palette as the top layer. Skip steps 2, 3 and 4 if you are not using a color palette and select a color by clicking on the color wheel in the bottom right corner.
3. Click the bottom layer to make it active, then click the color picker in the lower left-hand corner. Click on the canvas to select your color of choice.
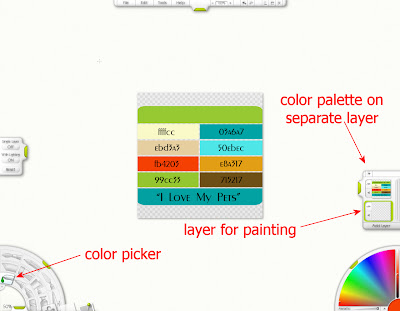
4. Click the eye next to the color palette layer to hide it.
5. To make the glitter metallic, go to the bottom right-hand corner and slide the metallic slider all the way to the right. Go to the bottom left-hand corner and select the glitter tool. After selecting the glitter tool, you can change the size of the glitter brush, click the +/- tabs located on the bottom and side of the quarter moon of this menu. The settings for the glitter are in the menu on the left side of the screen. This tutorial will focus on the effects of different glitter shapes.
Pressure = Density of the glitter. Higher pressure means greater density.
Glitter size = The size of the individual glitter pieces.
Glitter shape = Changes the shape of the glitter.
Multicolor = Changes the amount of other colors in the glitter. Lower percentage means addition of close, complimentary colors to your chosen color. Higher percentage means more hues.
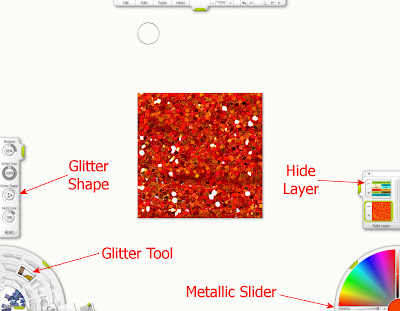
6. To choose a glitter shape either click on the little crescents surrounding the circle or click on the circle and a menu will appear with all the choices.
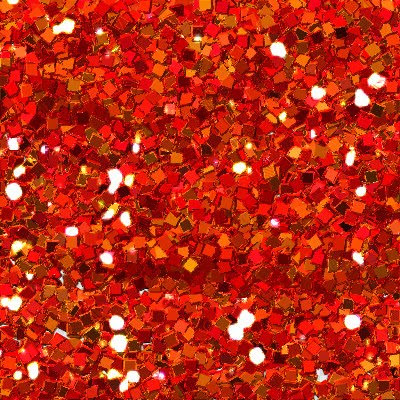
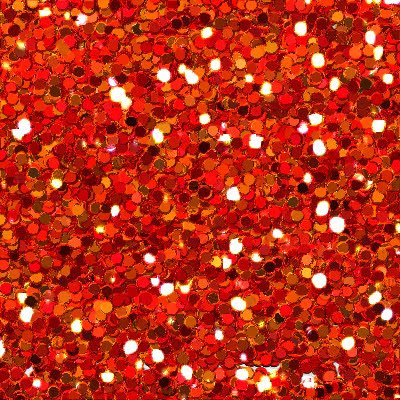
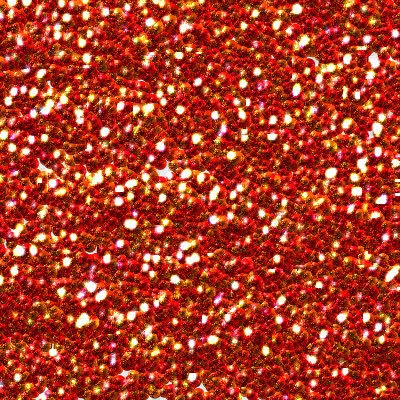
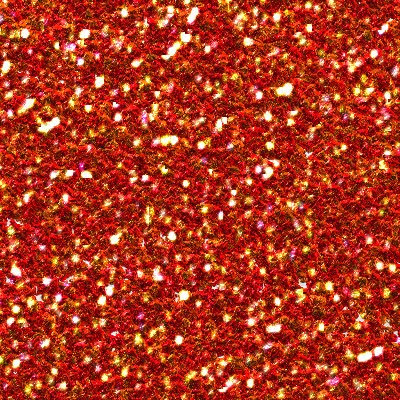
 7. Here is a comparison of the 5 different types of glitter shapes at 100% size.
Square:
Round:
Blob:
Grit:
Random:
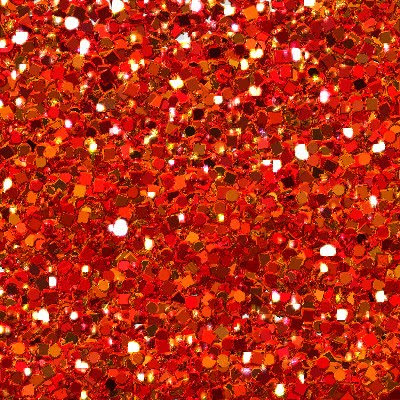
8. Fill your canvas with glitter.
9. Export the painting as a PNG file for use in Paint Shop Pro or Photoshop.


 The "A.B." in ABCreations stands for Anmarie Bowden, that's me! My favorite ice cream is Mississippi Mud from Baskin Robbins, altho I'm partial to Oreos crumbled on top of Vanilla Bean ice cream too! I was born on Super Bowl Sunday. I have been digiscraping since 2000. I live in beautiful sunny California. I am married to my soul mate and we have two gorgeous children. My favorite saying is, “If you think my hands are full, you should see my heart!”


No comments:
Post a Comment